Friday, April 13, 2012

The Photo Booth


   I would have to say this was my favorite part of the Tea Party this year.  After seeing how the pictures turned out, it was a definite.  Photo Booths are a very inexpensive way to create some fun at your party.  I purchased the striped material at Hobby Lobby and hung it from the window.  I added a section of colored pennants and a chair.  I set up my tripod and camera with my nifty remote and started clicking.  The props were different items related to my theme. Most of them were purchased at the dollar store, others at the party store.  Hats, glasses, clown noses, clown tie, and of course the popular mustaches. Those were printed from the internet, cut out, and glued to sticks. Here's the template I used.

Click on the pictures to enlarge.


So the next time you host a party, think about adding a photo booth.  It's a fun way to capture great memories.  Say Cheese!

Happy Weekend!
Kerrie


Wednesday, April 11, 2012

The Circus was in town!

Last year I started a tradition with the girls in my family. Every year on the Saturday before Easter, I host a Tea Party. Last year's theme was just your basic antique tea party. View it here.
This year I went a different direction and chose a circus theme. So. Much. Fun. It was colorful, happy, childish, and fun! (and no weird clowns)
I want to share with you the pictures and some of the ideas that I came up with. Some are my own and some I totally copied from the internet or Pinterest.
(can I get a shout out for Pinterest!)


I purchased a few things on Etsy including the paper straws, peanut and popcorn bags, and the canvas elephant goodie bags. Love Etsy for that kind of specialty stuff.

I printed out some flags, pennants, and images for more decorations.

Michael helped me create this homemade Ring Toss board and I used plastic bracelets for the rings.
The "prize" for the winners were bags of goldfish. Remember those growing up? Those goldfish didn't have a chance of living but these are plastic fish in glycerin soap. A fun bath toy to take home.

For the "big top" decor I used red and white plastic tablecloths and hung them from the ceiling. I made pennants from scrapbook paper I had and glued them to ribbon.

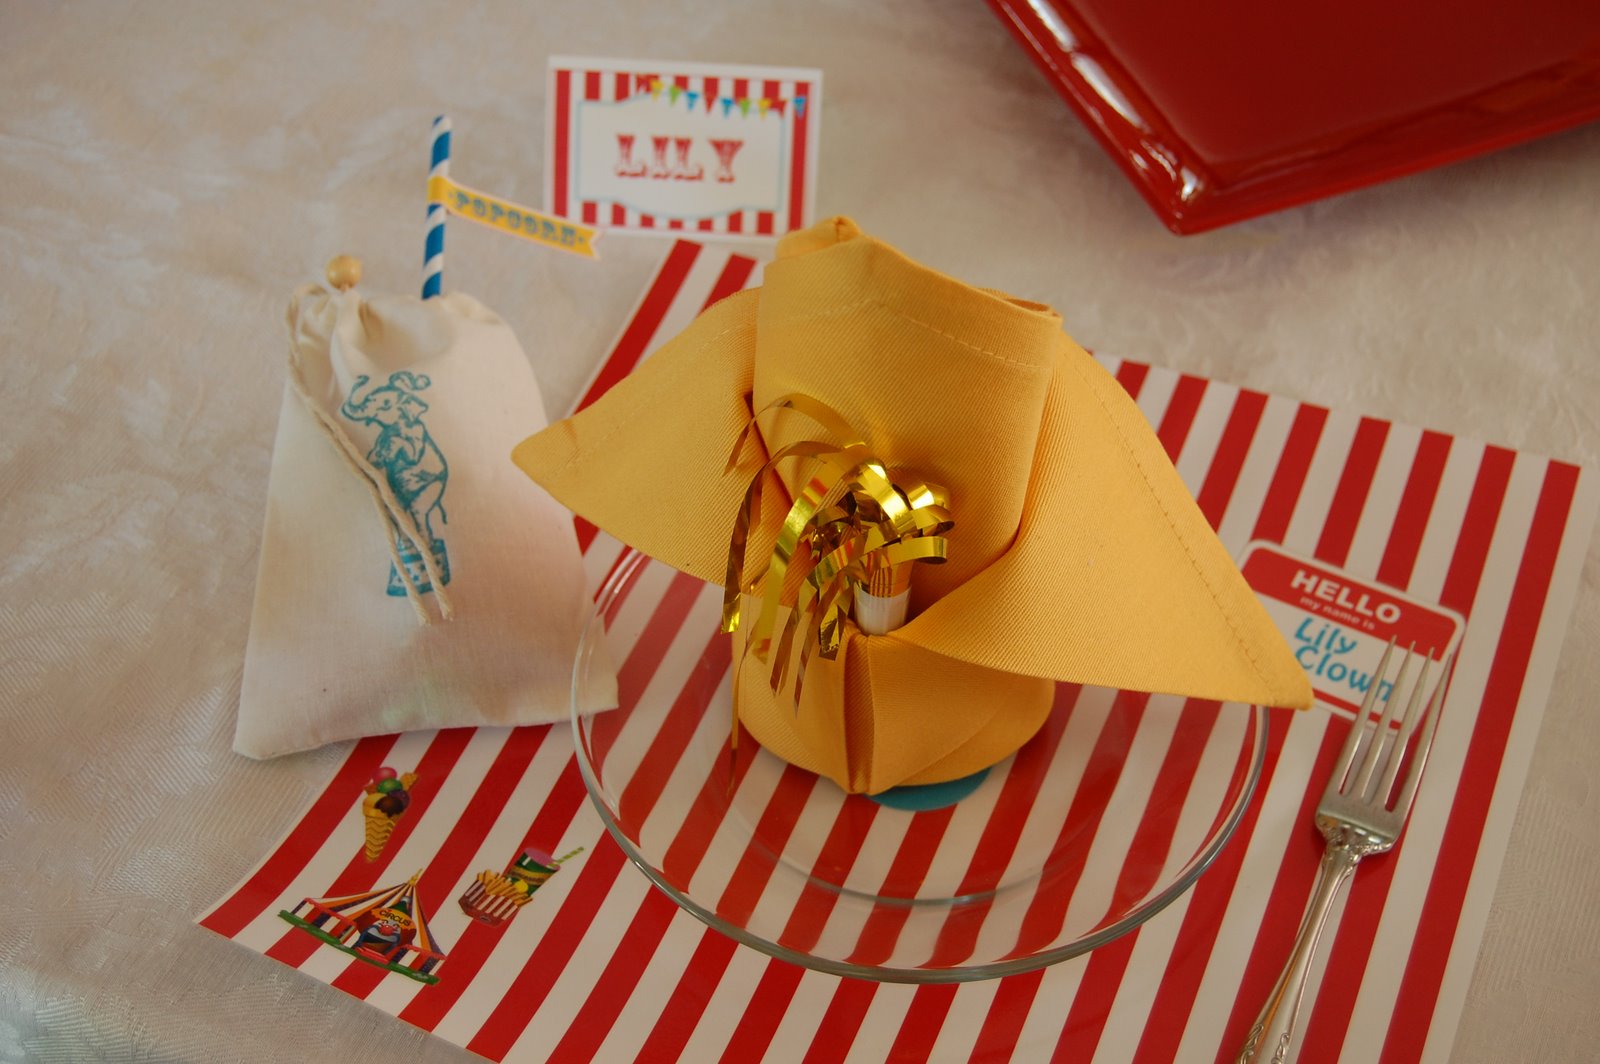
I learned how to fold a napkin on the internet and put a noise maker in the center. The placemats were pieces of scrapbook paper lamenated and decorated.

My sweet cookie lady, Bridget, is courageously battling cancer so I had to order from Norma's in Alvin. Bridget, yours are still the best!

Peach Tea -
Instant Peach Tea, Peach Nectar, and Ginger Ale

Probably my favorite table. Mainly because it has cotton candy on it. I printed some water bottle labels from the internet and wrapped them around some cream soda bottles. I had to have animal crackers and those nasty orange circus peanuts. Plastic popcorn tubs with yellow and white tissue paper added to the theme.

And here we are. Can't wait till next year!


Next, I'll post the photo booth pictures! You won't want to miss this! Have a great week!
Kerrie
Posted by Picasa

Thursday, March 22, 2012

"New" Cupboard

I wanted to replace my metal baker's rack with something a little more rustic.  I found this gem for $20 at an antique store in Nederland, TX a while back and just now getting around to putting it in the house.  I didn't do anything to it.  I left it in all it's junky, chipped, state.  I like it.  Some people might think it's a little "too rustic" but to me it just adds to the charm.  My favorite part is the blue board at the bottom.  I don't know why it's there but I'm sure it's to hold it together!


It was fun staging it.  I found some antique cookbooks to display and added a lot of my own cookbooks, jars, and knick knacks to the top.  The bottom is just for storage. 

Tuesday, February 28, 2012

Gone Green...

Well, not completely.  
Maybe just a light shade of "green."

Hopefully by now you know how much I love to save money,  whether it's redoing furniture or making my own body scrub. 
Also, some of you may be familiar with my sister Kelly's story and how she had heart surgery last year.  Smells and perfumes have always bothered her and it seemed to worsen after the surgery.  Weird huh?  So my BIL looked into making their own laundry detergent.

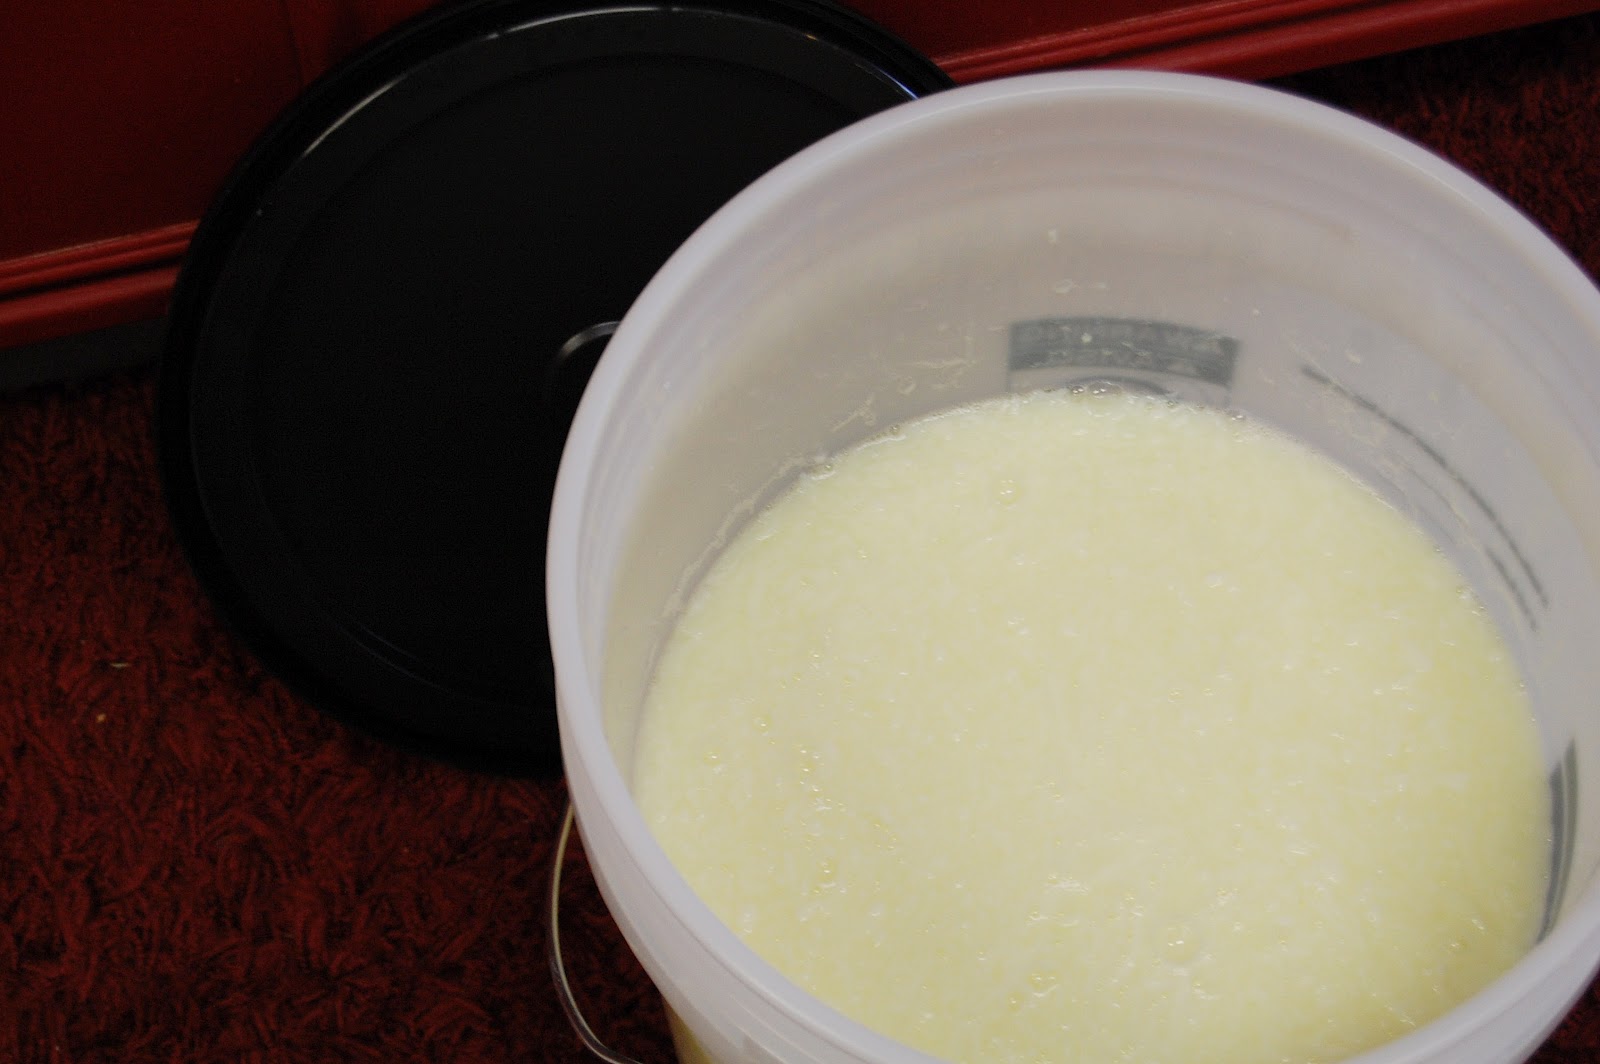
My sweet mother came over this weekend and brought me the whole kit and kaboodle to make my own detergent, complete with the 5 gallon bucket and all the supplies.  I wanted to share this with you because I am totally amazed at the cost comparison. And with four boys in the house, I do a lot of laundry...

So the ingredients first...
1 Bar Fels- Naptha Soap
1/2 bar Zote**
2 cups Borax
2 cups Washing Soda

 Now don't worry.  All of these things my mom found at Wal-mart or Kroger  I've pictured them here because they are unusual.  
 *****Since I've written this post, Zote now makes flakes so you don't have to grate the bar.  I used 1 1/2 cups of the flakes.


So...the cost.  Ready?  About $3 per recipe!!!
This recipe makes about 3 gallons of detergent.  You use 1/4 cup to 1/2 cup of liquid for each load.  Needless to say, this bucket is going to last a while!


I will include the recipe at the end of this post.  There are a ton of other recipes online but I know this one works because my mom and sister already use it.  Pretty cool, huh?  Saving a ton of money, making it your own using gentle produts, and helping the environment with no plastic waste.   Get the kids involved too!

If you make this, please let me know how you like it!

Have a great week!
Kerrie


Laundry Detergent Recipe

4 cups water
1 Bar Fels-Naptha, grated
1/2 bar Zote, grated
2 cups Borax
2 cups Washing Soda

In a pot on the stove add 4 cups water and grated soaps.  Melt on low heat, stirring occasionally.  Fill your bucket with 2 1/2 gallons of water.  Reserve 3 cups of this water on the counter.

When soap is almost melted in pot, strain out liquid into bucket.  Dump what is in the strainer back into the pot along with your 3 cups of reserved water.  Continue to simmer and stir until dissolved.
Turn the fire off and add your Borax and Washing Soda.
Stir until mixed.
Dump remaining soap into bucket.
Let ingredients sit over night, stirring occasionally to break up lumps.  My middle son helped me by sticking his hands in there and squeezing the lumps to separate.  He seemed to have fun!

For easier everyday use, you may add some of your detergent to a used and empty detergent bucket.